A clear and accessible map of the racetrack or event track is essential for success. A well-designed map is beneficial both for the organizers and the participants in many ways. Displaying it on the website helps the participants prepare for the event.
By allowing participants to study the track in advance, they have the chance to become familiar with the route, altitude changes and potential challenges. This enables better planning, fast-paced strategies, and ultimately a more enjoyable experience for everyone. The easy-to-read map also helps participants navigate the track with confidence, minimizing confusion and frustration on the day of the competition.
The event area map is a valuable communication tool. Paste it on the website of your competition, into your sing-up materials and emails prior to the competition to keep participants informed and engaged.
Here you go, a step-by-step guide on how to create an online map of the racetrack:
1. Design your map in Google Maps
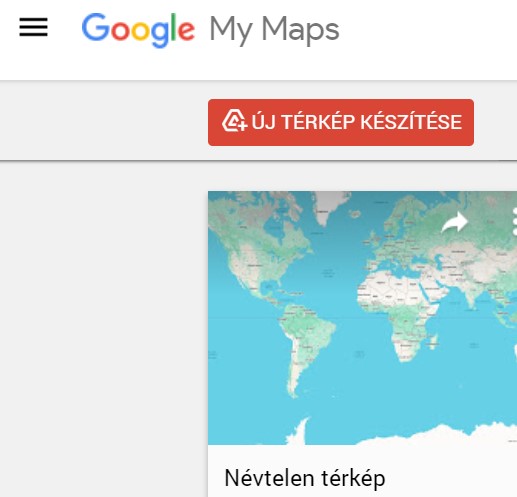
2. Open “ My Maps ” in Google Maps and click the “Create a new map” button. Go to the top left corner to name your new map.
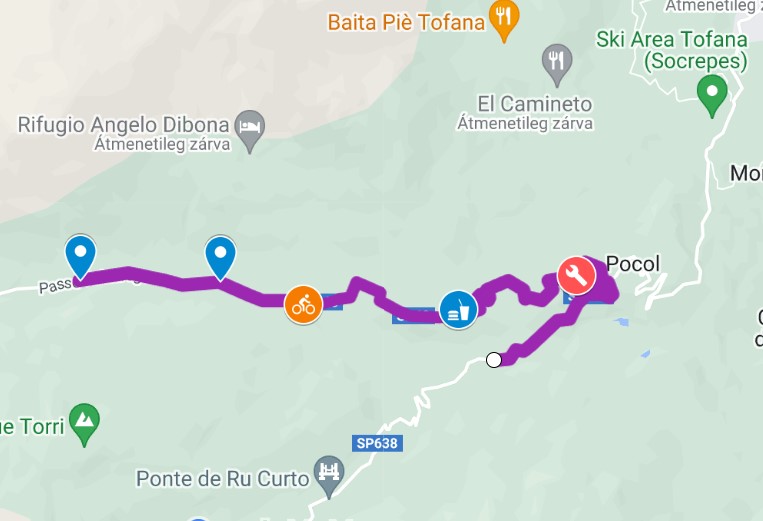
3. Find or enlarge the starting point of your competition. A green marker appears to set the starting point. Add this place to your map layer.
4. Start drawing the track by clicking “Draw a line” and then “Add line or shape”. Add the line to the next checkpoint or station of your track.
5. To add a checkpoint (photo point, question, QR code, touch point, etc.) or a panorama point, tick “Add marker”, then select the place on the map and save it.
6. Continue to add as many line segments and task points as you need until the finish line. Save the finish line as another marker.
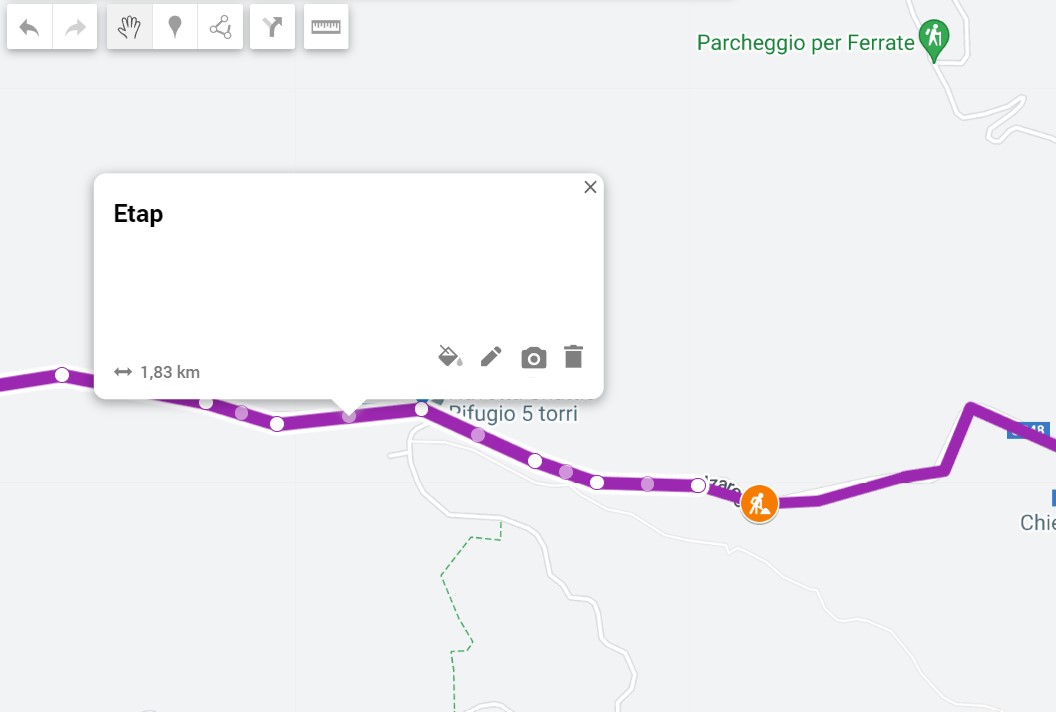
7. To change the names of the markers or sections, go to the left and click the marker in the map legend. A field to change the address appears on the map. You can also change the color of line markings and stations here by clicking on the color icon in the same field.
8. Google Maps automatically calculates the distance of each line segment, and when you edit a segment, these data are displayed in the field of details. But the distance will not be clearly visible on the shared map. We recommend that you also indicate the related distances in the segment names and the total distance of the track in the map name or map description.
9. Your changes are automatically saved in the map. If you are happy with the layout of your places and sections, click the ‘Share’ button and select ‘Share or embed map’. You can then copy the link or embed the code and share the map on your website or social media platform.
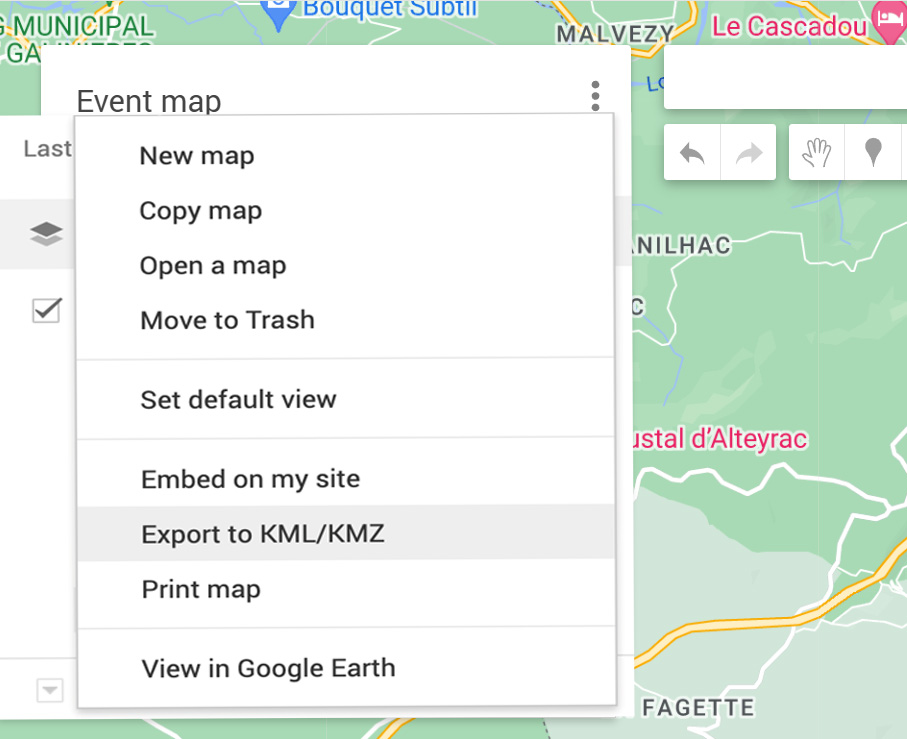
10. You can also export your map. You can only export your Google map from Google in KML/KMZ format. To do this, click on the three dots above the map legend, and select “Export to KML/KMZ”.
2. Create a GPX file from your map
The GPX (GPS Exchange Format) file allows participants to directly import the specific track to their phone, smart watch or other GPS devices. There are a number of free online tools that can convert your Google Maps route to a GPX file.
Simply search for “Google Maps to GPX converter” and follow the instructions on the selected website.
Once you have your GPX file, upload it to your event website or attach it to your communication as a downloadable option prior to the competition.
Remember to also take a screenshot of your map, which you can use for your emails, website, and social media platforms.

 6. Continue to add as many line segments and task points as you need until the finish line. Save the finish line as another marker.